What to watch for
Attacks
Uses high and low melee attacks, distant pillars and a rock-column attack.
Combat suggestions
Watch for pillars even at range, and high or low strikes when close.
Attack information comes from game data; the approach advice follows those attack patterns. Use the direction and range of each attack to choose when to move.
What can it drop?
Shared drops
Form 1, Form 2 use the shared drop table.
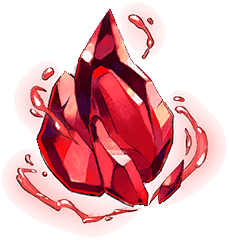
- Mana balls
- Mana recovery drops; equipment can modify the amount received.
- Random recovery items
- Meat chunk, Mana tea, Health potion.
Recovery items are random drops. The table lists the items that can be selected; defeating an enemy does not guarantee every item on the list.
Forms & base rewards
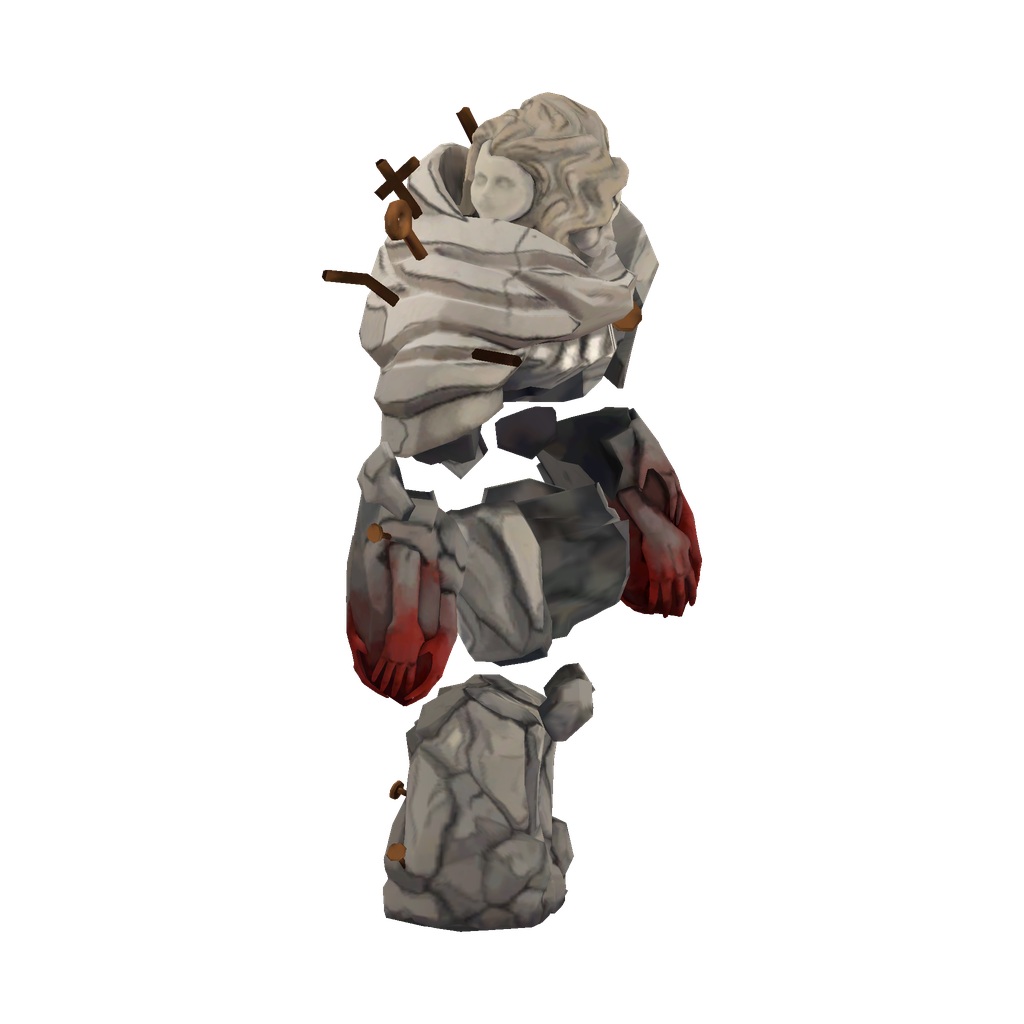 Full-size image ↗
Form 1
- Base HP
- 2000
- Base XP
- 580
Shared drops: mana balls and random recovery items.
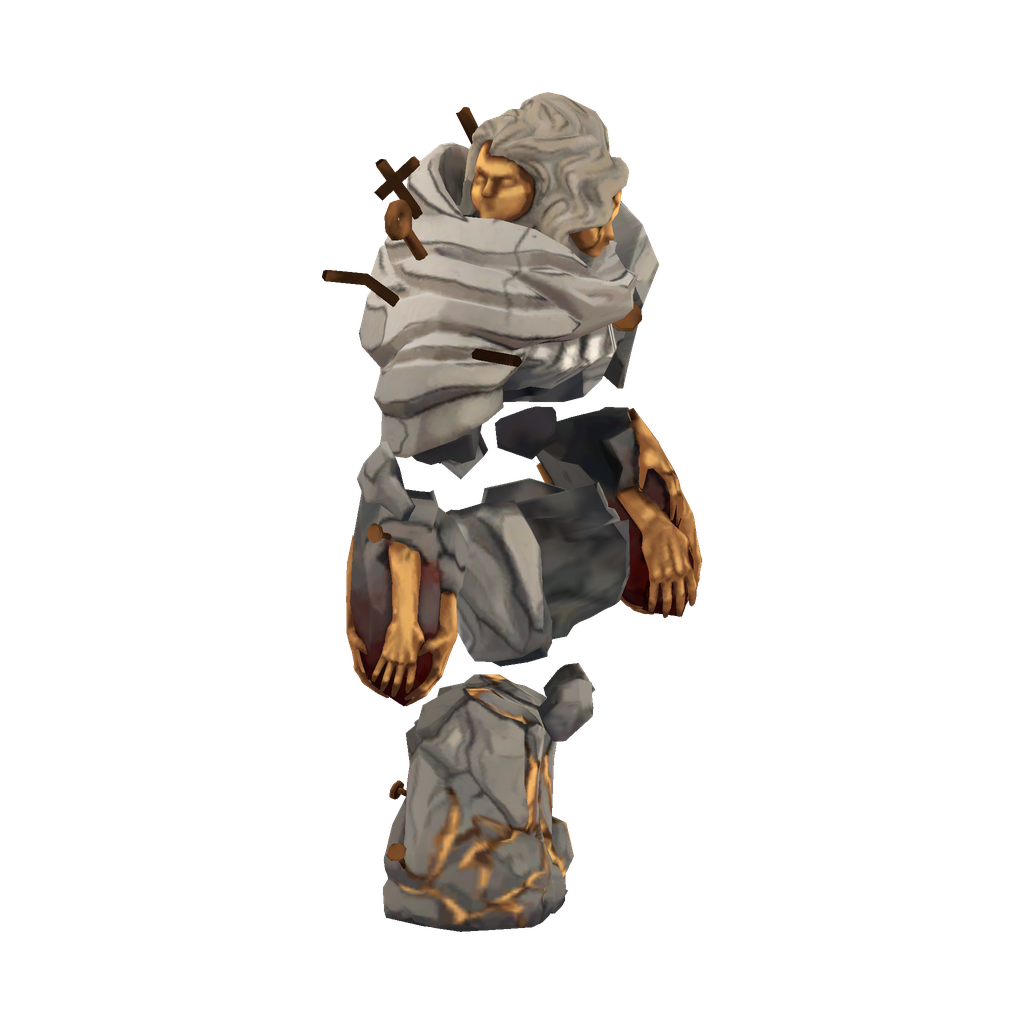 Full-size image ↗
Form 2
- Base HP
- 3000
- Base XP
- 580
Shared drops: mana balls and random recovery items.
Images are game-model renders. The table shows base health and XP; difficulty and equipment effects affect combat calculations. The pre-encounter following phase is separate from combat forms and has no kill rewards.
Where can I find it?
Highlighted areas locate rooms where this enemy appears during the game; encounters depend on your current progression. Choose a room below to find it on the interactive map.
Notre-Dame
Gold: rooms with recorded appearances
Choose from 4 rooms
- West Triforium ↗Form 1
- Great Tower ↗Form 2
- East Gallery ↗Form 2
- Justice of Emmanuel ↗Form 2
Hall of Mirrors
Gold: rooms with recorded appearances
Choose from 3 rooms
- Servants' Refectory ↗Form 2
- Ballroom of Terror ↗Form 2
- Hall of Mirrors Entrance ↗Form 2
Master's Quarters
Gold: rooms with recorded appearances
Choose from 1 rooms
- Sanctuary of Solitude ↗Form 1