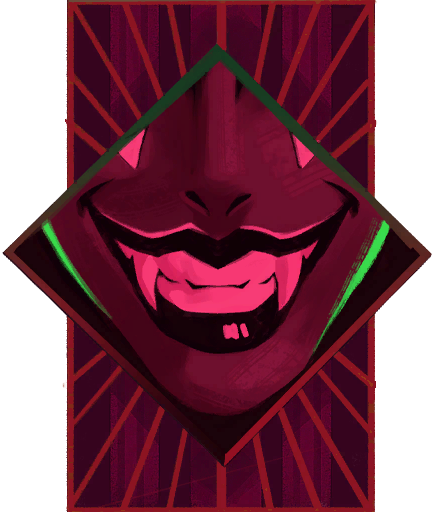
Why do clones appear during the fight?
The Succubus encounter in the Hall of Mirrors has separate solo, clone and drain phases. The solo phase includes close-range attacks, projectiles and teleporting. Its clone-phase entry becomes eligible after the solo attack count reaches five. This explains why the fight can change even when you have not noticed a particular drop in the boss’s health bar.
The count is an entrance condition, not a promise that a clone appears immediately after every fifth visible attack. Continue reading the current attack and the actual transition. Counting can help you anticipate a change, but it does not replace watching the boss. Avoid spending all your mana on the assumption that the solo pattern will continue indefinitely without another phase.
Reassess threats when the clone phase begins
The clone phase has its own attacks and can reset its clones before moving onward. Treat a change in the number or positions of targets as a reason to look around again. As a practical suggestion, favour actions that let you reposition, and keep track of both nearby melee pressure and projectiles. A hit on one target does not by itself establish that the whole phase has finished.
After a teleport or a reset, find the nearest threat before choosing your next attack. Do not continue a long stationary action simply because the screen looked clear before the change. This is a resource and positioning approach, rather than a fixed safe corner. It remains useful when different attacks overlap, because you decide from the current situation instead of from the boss’s previous position.
Keep resources for the phase after the one you are in
Before entering the encounter, check your weapon, equipped spell and recovery options. During the solo phase, learn how much time you need to stop an attack and move again. When the pattern changes, shorten your commitments until you understand the next threat. There is no need to interpret every new phase as a requirement to replace your entire equipment setup in the middle of the fight.
Distinguish surviving the boss’s drain phase from using the spell rewarded afterward. They are separate actions with separate rules. If you are planning a healing-based approach for later areas, read Life Drain’s mana requirements before relying on it. A spell associated with the Succubus should not be assumed to have the same targets, timing or behaviour as every attack used by the boss herself.
Claim Life Drain and continue the Sage route
After defeating the Succubus, complete the reward-orb interaction to claim The Temptress and Life Drain. The spell needs at least five mana to begin before reductions; at normal game speed, channeling consumes 20 mana per second and stops when mana is exhausted. There is no separate five-mana payment added to that channeling. Prepare enough mana for the duration you intend to hold it.
Life Drain also matters to Eleanor’s later route. After claiming the spell, return to her in the cemetery and follow the Sage guide for that interaction. The One-way Mirror and its four seal chambers are another part of that route, with their own locations and completion steps. Defeating the Succubus, collecting the orb and returning to Eleanor should therefore be checked separately.
Questions players ask
Is the clone phase triggered only by low health?
The verified solo-phase entrance uses an attack-count requirement of five. Do not rely only on the health bar to predict the change. Watch the current actions and transition, and keep enough resources to respond when the pattern moves away from the solo phase.
Does hitting a clone mean the phase is over?
A hit on one target is not a reliable indication that the full phase has ended. The encounter includes clone resets and further phase changes. Confirm what the boss and remaining targets are doing before committing to recovery or treating the arena as temporarily empty.
Why does Life Drain stop while I am holding the button?
The channel consumes mana continuously and ends when it runs out. Check your current mana and the spell’s cost rules before starting. The minimum needed to begin is not a purchase of an unlimited channel; holding the input still requires the ongoing mana supply.
Where should I go after claiming the reward?
If you are following the Sage route, return to Eleanor in the cemetery after obtaining Life Drain. Use her route guide to distinguish that meeting from the four seal battles and the One-way Mirror. Each has a different location and should be checked against its own required interaction.
Find each stage on the map
Select a stage to highlight its room. These references locate the places described above; they do not show every jump or prove a continuous accessible route.
- Find the Succubus encounterHall of Mirrors / Belmont Manor ↗
- After claiming Life Drain, return to EleanorHoly Innocents' Cemetery / Mausoleum of the Queens ↗
Linked items, clues and powers
- Succubus →
Succubus is in Hall of Mirrors.
- The Temptress →
Life Drain: Channel a beam into a nearby enemy to damage it and heal Rose.
- Life Drain →
Channel a beam into a nearby enemy to damage it and heal Rose.
- The Sage →
Mirror Walk: Leave a mirror for 15s; recast to return and recover 50% of health lost since placement.
- Mirror Walk →
Leave a mirror for 15s; recast to return and recover 50% of health lost since placement.