Choose a trigger you can use consistently
A damage relic is useful when its condition matches how you fight. Compare the trigger before choosing the highest percentage. Obsidian Fang grants 45% extra damage for three seconds after a guard break; Cursed Coin grants 30% for three seconds after a successful parry; Twilight Gem grants 30% for three seconds after casting. These are three different openings, even though their durations match.
Choose the opening you already create reliably. A guard-break setup rewards pressure that actually breaks the guard. A parry setup asks you to respond successfully to an incoming attack. A casting setup fits a spell followed by further offense. Avoid spending the entire short window crossing the arena; prepare your position before triggering the bonus, while still responding to the enemy’s next move.
Full health and low health ask for different plans
Forsaken Ring increases damage by 25% while you remain at full health. Specter's Whisper increases it by 30% below 20% health. Beelzebub's Seal trades away 50% of maximum health for 30% extra damage. The first two depend on current health, while the third changes the size of your safety margin. Treat the listed percentage together with the survival condition.
For unfamiliar encounters, preserving enough health to learn the next attack can be more useful than maintaining a risky damage condition. A full-health plan benefits from avoiding incidental hits; a low-health plan becomes harder to maintain safely when an attack pattern is unfamiliar. If you keep losing attempts before seeing the later attacks, reconsider the health trade-off before adding another offensive item.
Match positioning and target conditions
Vile Trinket gives 25% extra damage when hitting from behind, while Raven's Feather gives 25% during airborne combat. Abyssal Eye adds 35% against controlled enemies, and Sinister Rune adds 40% when striking an enemy at full health. These conditions describe different opportunities: positioning, your movement state, the enemy’s status, and the first hit before its health falls.
Necro Charm grants 25% for three seconds after defeating an enemy, making nearby follow-up targets relevant. It does not supply a fresh kill trigger in an empty single-opponent arena. Likewise, a bonus against controlled enemies should be chosen for situations where the target can actually be controlled. Use the illustrated comparison below to match each item with the encounter rather than assuming every bonus is always active.
Keep potion damage separate from healing needs
Witch's Brew provides 20% damage for each empty healing potion. More empty bottles can therefore support its stated condition, but using a potion also changes your remaining recovery options. Do not spend healing resources solely to make a larger number appear when you still need those resources to survive the encounter. The healing guide explains the separate recovery choices.
The percentages on this page are the individual relic effects. They are not a tested combined multiplier, and the table does not rank a universal best loadout. Start with one dependable condition, keep a way to recover, then compare another item that supports your actual actions. Open each relic entry for its acquisition place and pair this page with the weapon and mana guides when planning a complete setup.
Effects and acquisition locations
 Obsidian Fang
Breaking a guard grants +45% damage for 3s.
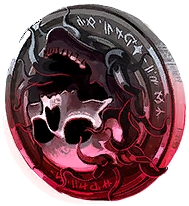 Cursed Coin
A successful parry grants +30% damage for 3s.
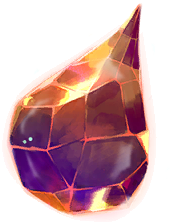 Twilight Gem
Casting activates a 3s damage bonus of 30%.
 Forsaken Ring
Keeping full health grants +25% damage.
 Specter's Whisper
At 20% health or less, gain 30% extra damage.
 Beelzebub's Seal
Trade 50% maximum health for a 30% damage boost.
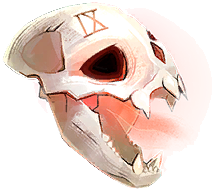 Vile Trinket
Rear attacks gain a 25% damage bonus.
 Raven's Feather
Airborne attacks gain a 25% damage bonus.
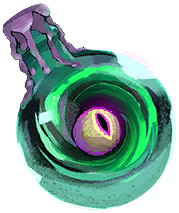 Abyssal Eye
Deal 35% more damage to enemies that cannot act.
 Sinister Rune
The opening hit against a full-health enemy gains 40% damage.
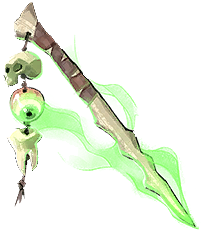 Necro Charm
A kill activates +25% damage for 3s.
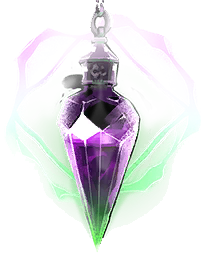 Witch's Brew
Each empty healing vial adds 20% damage.
Original game artwork
Questions players ask
Can I add all the percentages together?
The listed values describe individual effects. Their combined calculation has not been established here, so adding or multiplying every percentage would not produce a verified result. Compare conditions and practical uptime first, and avoid treating simultaneously equipped items as proof that every bonus applies to every hit.
Which three-second relic should I choose?
Choose the trigger you can produce during the encounter: Obsidian Fang for guard breaks, Cursed Coin for successful parries, or Twilight Gem after casting. Compare the time you can actually spend attacking after that trigger. A larger listed bonus is less useful when the enemy is already out of reach.
Is the low-health bonus always better for bosses?
A boss encounter does not remove the low-health requirement or its risk. If you are still learning the pattern, enough health to survive an error can matter more. Choose the condition that fits your consistency, and reconsider it if the trade-off repeatedly ends attempts before you can learn the later attacks.
Where can I find these relics?
Each illustrated name below links to its own item page, with effects and recorded acquisition locations. Follow the item’s own marker or room reference. A character-related destination and a chest location are different kinds of reference, so read the acquisition conditions before assuming a reward is immediately available.