Where the bad-ending route splits
The bad-ending route in Castlevania: Belmont’s Curse branches at the Cursed Horologium in the Clock Tower. Continuing with Death’s trap armed leads to the false Master’s Quarters. This is a different destination from the real Master’s Quarters and its rooftop battle. If you are deliberately exploring this ending, identify the clock mechanism before proceeding so you know which state you are choosing.
Use the clock location linked below to match the room in your game. The branch map on this page shows the false destination separately, keeping its repeated antechambers distinct from the real castle rooms. A familiar throne-room shape is therefore insufficient to identify the route: the clock’s state and the entrance you used matter more than the appearance of one room.
Understand the clock’s two states
To disarm the trap, first claim The Shadow and Soul Harvest from Death in Notre-Dame. Equip Soul Harvest, then interact with the mechanism at the clock. Merely owning the card is not the same as equipping its spell. This distinction is useful even when you want the bad ending, because it explains why collecting an Arcana does not automatically change the route ahead.
The mechanism toggles. After disarming it, another interaction can re-arm the trap and restore the bad-ending route. Do not repeatedly interact just to watch the effect while assuming that the first successful action remains in force. If your goal changes to the real final area, disarm it and leave that state intact before moving on. The map link identifies the mechanism, rather than tracking your current game state.
Read the separate false-quarters map
The branch contains four antechambers and a false throne room. Its entrance is at Antechamber 4 on the right of the diagram; the throne room lies to the left. Read the complete room sequence before treating a repeated corridor as a new branch. The numbered labels distinguish the rooms on this page. They are navigation labels, rather than items, enemies or extra rewards to collect.
The diagram preserves the branch’s room outlines without placing them over the real Master’s Quarters. Select a number to find its room label, then compare the surrounding shapes with your game. Continue the branch’s story when you are ready. Use the outlines to keep your bearings while choosing jumps and combat actions from the game itself. For later endings, plan around the continuation and save options your game actually offers.
Bad ending versus normal and true endings
The first decision is the clock trap: an armed trap sends you to the false quarters. The normal and true endings instead follow the real final route after the trap is disarmed. Their later distinction concerns Absolution after Dracula’s second form on the rooftops. Trying to fix that later spell choice while already following the false-quarters branch addresses the wrong decision point.
For the normal ending, follow the dedicated guide to the real final battle and its closing sequence. For the true ending, prepare Absolution through the four virtue trials and follow the post-battle casting instructions. These guides separate the destination decision from the final spell action. If you only wanted to avoid the bad ending, your immediate task at the clock is simply to keep the trap disarmed before proceeding.
False Master’s Quarters: separate branch map
This branch is shown separately from the real Master’s Quarters. Enter through Antechamber 4 on the right; the false throne room is on the left. Select a room number for its label.
- False throne room
- Antechamber 1
- Antechamber 2
- Antechamber 3
- Antechamber 4Entrance from the Clock Tower
Locate the clock trap ↗Normal ending guide →True ending guide →
Find each stage on the map
Select a stage to highlight its room. These references locate the places described above; they do not show every jump or prove a continuous accessible route.
- Cursed HorologiumClock Tower / Clock Tower Bridge ↗
Linked items, clues and powers
- The Shadow →
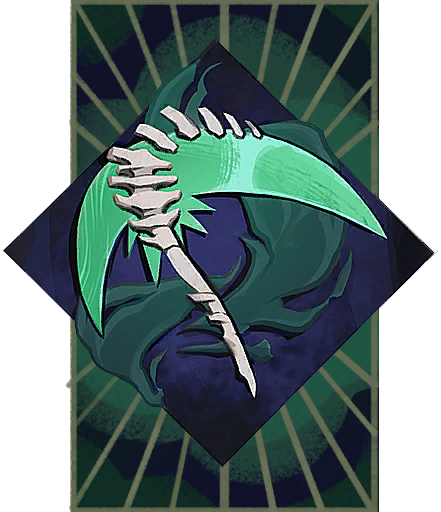
Soul Harvest: A heavy scythe strike releases 4 extra sickles from each defeated enemy.
- Soul Harvest →
A heavy scythe strike releases 4 extra sickles from each defeated enemy.